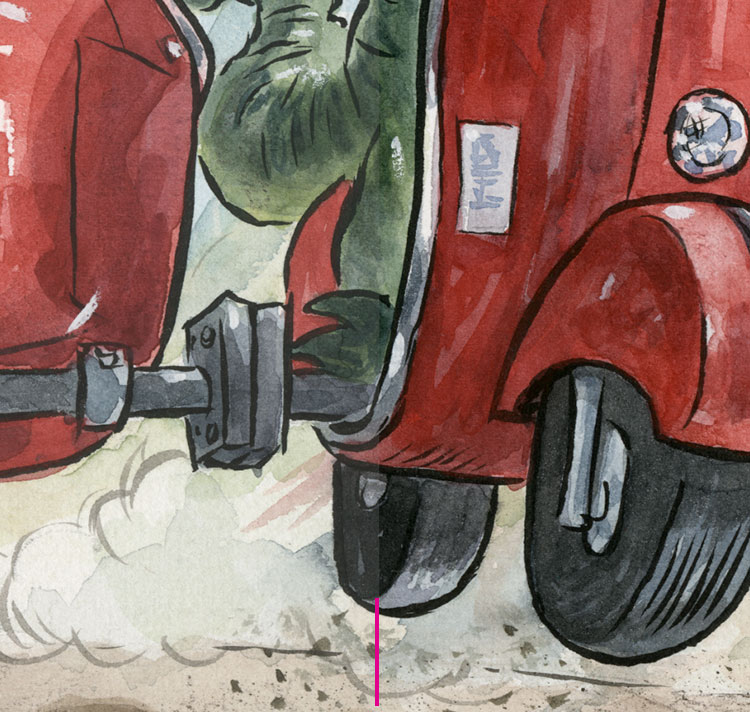
 |
| Brush, ink. |

David Opie Illustration
Monday, November 9, 2015

Friday, October 30, 2015

Thursday, October 29, 2015


Wednesday, October 28, 2015


Saturday, October 24, 2015

Friday, October 23, 2015


Sunday, October 18, 2015

Saturday, October 17, 2015

Friday, October 16, 2015


Wednesday, October 14, 2015
Inktober, Day 14
 |
| A selection of ballpoint pen drawings done during Democratic debate. Please click to enlarge. |

Monday, October 12, 2015

Sunday, October 11, 2015


Friday, October 9, 2015


Wednesday, October 7, 2015

Tuesday, October 6, 2015


Sunday, October 4, 2015

Saturday, October 3, 2015

Friday, October 2, 2015


Tuesday, September 29, 2015
Optimizing a Scan, Part 1: Levels
In this post I’m going to cover my process for
tweaking a color scan of an illustration. I’ll be making my editing decisions
based on the file’s Histogram and by my monitor. In order to “trust” the image
on my monitor, I make sure to keep it calibrated. I use the Spyder Pro for my
monitor calibration, but there are other good systems out there.
My scanner is the Epson Expression 10000XL, which I highly
recommend. It’s easy to use, captures lots of detail, and can scan up to 12 by 17 inches.
I start off by selecting “Professional Mode” with “No Color
Corrections” (please see Figure A). I want to make all my adjustments in Photoshop—I don’t want the
scanning software to make any of the decisions for me.
 |
| Figure A: The Epson interface. |
I open up the scan in Photoshop and compare it to the
original, which I prop up on an easel right next to my monitor as I tweak the file. I know from
experience that my scanner tends to scan a little too light and the colors a little
too flat. The first
thing I do is open up a Levels Adjustment Layer (see screenshot B below), which is the
non-destructive and more flexible alternative to using a Levels
adjustment (cmd-L) directly on the pixel Layer.
 |
| B: Levels Adjustment Layer at the bottom of the Layers Panel. |
As a side note, I tend to use Levels for scanned artwork and
Curves for photographs. Curves will give you more control over the tonal
adjustment because you can add points, but I’ve found that Levels is generally
fine for scans.
When you open up a Levels Adjustment Layer, you’ll see the
Histogram under the Properties Panel. The Histogram plots on a graph all the pixels in
the image based on their tonal value (see screenshot C below). The
illustration in this example shows a dark figure against a fairly large, light
background. I used black ink for the line, so I want to make sure that the lines are dark black.
 |
| C: You can see the gap in the shadow area of the original scan and the adjustment made by sliding the Black Point over to close the gap. You can also see that most of the pixels on the graph fall toward the lighter side, which is what you'd expect with this image. |
When I look at the Histogram, I see that there’s a gap
between the actual pixels in the scan and the Black Point (or darkest black),
which is normal for my scanner. That ensures that I don’t lose detail in the
darkest areas of my scan. I also see that my highlight areas extend all the way
to the lightest tone, so I won’t need to adjust my highlights for this scan. I
also notice that most of the pixels fall toward the highlights, which I’d
expect with an image that has so much light background in it.
To correct for the shadows, I slide the Black Point (or
Shadow) to the place where the pixels in the Histogram start (see C above). Whenever I make
an adjustment, I always click on and off the Eyeball (to show and hide) for the
Layer Adjustment to evaluate the change.
By moving the Black Point over to make up for the gap in the
Histogram, I am making sure that my image will contain the full tonal range and not look washed-out (see D below).
This will also make the colors a little more saturated.
 |
| D: Before Levels adjustment on the left, and after on the right. Notice that the red is richer after the adjustment. Click to enlarge. |
Next up: Optimizing a Scan, Part 2: Adjusting Color Balance and Hue/Saturation (to come).
Related post: Piecing Together a Scan.
Thursday, September 24, 2015
Exotic Animal Farm Location Drawings
I recently drew some animals from an exotic animal farm on Block Island, RI. I used pencil, water-soluble colored pencil, Pentel Pocket Brush, and a Kuretake Water Brush.
 |
| Top left, that's Justice the yak. Below left is Cindy, a zedonk, which is a zebra hybrid. Click to enlarge. |
 |
| More studies of Justice, plus some seagulls. Click to enlarge. |
 |
| Emus at the top, Tank the turtle on the left, and studies of llamas. Click to enlarge. |
Wednesday, June 10, 2015
Photoshop's Photomerge: Pt. 2
In my previous post, I demonstrated using Photomerge to create a panorama. Nowadays, if I want a panorama, I'll probably just use my iPhone, but I still use Photomerge to piece together parts of an illustration that I scanned in sections. I used to accomplish this the old-fashioned way: Using the Difference Layer Blending Mode and painstakingly rotating and tapping the image over pixel-by-pixel, but now I let Photoshop's Photomerge do all the work.
Click here to see my previous post, Photomerge Pt. 1.
There are a few things I do to prepare to use Photomerge in this way. First, I am careful that my illustration's edges are at right angles. To do this, when I trim the edges of my illustration, I use a transparent gridded rectangle against a cutting board with a grid on it. Then, in my scanner, I make sure to push an edge flush against the frame of the scanner glass. Although Photoshop can rotate the image a few degrees in Auto Blend, you'll get better image quality by avoiding this (Photoshop uses "interpolation" on images that aren't rotated at 90 degree increments, which will cause slight image degradation).
It's also important to give your image a couple inches of overlap. This gives Photoshop a margin to use in computing how to align the sections and gives room to create the Layer Mask.
Now, File > Automate > Photomerge. I use the default settings: Layout > Auto and I make sure the box is checked for Blend Images Together.
Click here to see my previous post, Photomerge Pt. 1.
There are a few things I do to prepare to use Photomerge in this way. First, I am careful that my illustration's edges are at right angles. To do this, when I trim the edges of my illustration, I use a transparent gridded rectangle against a cutting board with a grid on it. Then, in my scanner, I make sure to push an edge flush against the frame of the scanner glass. Although Photoshop can rotate the image a few degrees in Auto Blend, you'll get better image quality by avoiding this (Photoshop uses "interpolation" on images that aren't rotated at 90 degree increments, which will cause slight image degradation).
It's also important to give your image a couple inches of overlap. This gives Photoshop a margin to use in computing how to align the sections and gives room to create the Layer Mask.
 |
| I make sure that my paper edges are square and I include a generous overlap. Click any image to enlarge. |
Now, File > Automate > Photomerge. I use the default settings: Layout > Auto and I make sure the box is checked for Blend Images Together.
 |
| These are the default settings, and I use them to piece together scans. |
 |
| This screen shot shows the Layer Masks. |
 |
| I turned off one of the Layers to show the effect of the Layer Mask that Photoshop generated. |
I always check to make sure that Photomerge blended the section seamlessly. To do that, I hit cmd-1 (View > Actual Pixels) and then scroll around the seam. Once I'm satisfied with the merged sections, I'll flatten the image and start correcting the scan for color and tone, and that will be the topic of my next Photoshop Tips blog post.
Tuesday, June 2, 2015
Photoshop's Photomerge, Pt. 1
Photoshop has a great feature, called Photomerge, that was originally designed to stitch together photos to make panoramic images.
In this first part, I'll show how to use this feature to create a panorama from three photos. In a following post, I'll demonstrate how I usually use Photomerge: To piece together an illustration that I had to scan in sections.
To get started, I took three photos of the Museum of Science and Industry in Chicago, IL (this building was part of the World's Columbian Exposition of 1893). I didn't use a tripod and I left the camera on "auto exposure," so the exposure shifted a little bit for each shot. I left some overlap between the shots.
I opened the photos in Photoshop and went to File > Automate > Photomerge.
I'm going to show the effects of three different settings. For the first one, I'm not going to use any of the blending features to contrast with the next two in which I let Photomerge work its magic. See A below for the settings and B for the result.
Now, let's use Layout > Auto and check the Blend Images Together option:
So, there you have it. After some cropping you'll have a blended panoramic image. Next up: Using Photomerge for piecing together scans.
In this first part, I'll show how to use this feature to create a panorama from three photos. In a following post, I'll demonstrate how I usually use Photomerge: To piece together an illustration that I had to scan in sections.
To get started, I took three photos of the Museum of Science and Industry in Chicago, IL (this building was part of the World's Columbian Exposition of 1893). I didn't use a tripod and I left the camera on "auto exposure," so the exposure shifted a little bit for each shot. I left some overlap between the shots.
I opened the photos in Photoshop and went to File > Automate > Photomerge.
I'm going to show the effects of three different settings. For the first one, I'm not going to use any of the blending features to contrast with the next two in which I let Photomerge work its magic. See A below for the settings and B for the result.
 |
| A I'm going to choose Reposition Only, uncheck Blend Images Together, and Add Open Files. |
 |
| B This shows the result of merging the three photos, using Reposition Only and none of the blending features. Click to enlarge. |
Now, let's use Layout > Auto and check the Blend Images Together option:
 |
| The blending looks good, but Photoshop has distorted the image to correct for the perspective. Click to enlarge. |
 |
| This Layer Panel screen shot shows how Photoshop is skewing the individual photos and using Layer Masks to help in the merging of the photos. |
This last one shows the Blending, but I've also checked the box for Geometric Distortion Correction (found under the Blend Images Together option):
 |
| I used Layout > Auto, checked Blend Images Together and Geometric Distortion Correction. |
So, there you have it. After some cropping you'll have a blended panoramic image. Next up: Using Photomerge for piecing together scans.
Tuesday, February 24, 2015
Tugboat Breaking the Ice
 |
| Watercolor in a Moleskine pad, 5 by 8 inches. Done from a photo that I took over the weekend. Click to enlarge. |
Monday, February 23, 2015
Folding Mailers
Here are examples of mailers that I make to send to publishers. When folded up they fit in a standard envelope.

Tuesday, January 13, 2015
Sketchbook: Doggies
 |
| Here are some doggies from my sketchbook. Done in ink, watercolor, and colored pencil. Click to enlarge. |
Subscribe to:
Posts (Atom)