
 |
| Animated version. |
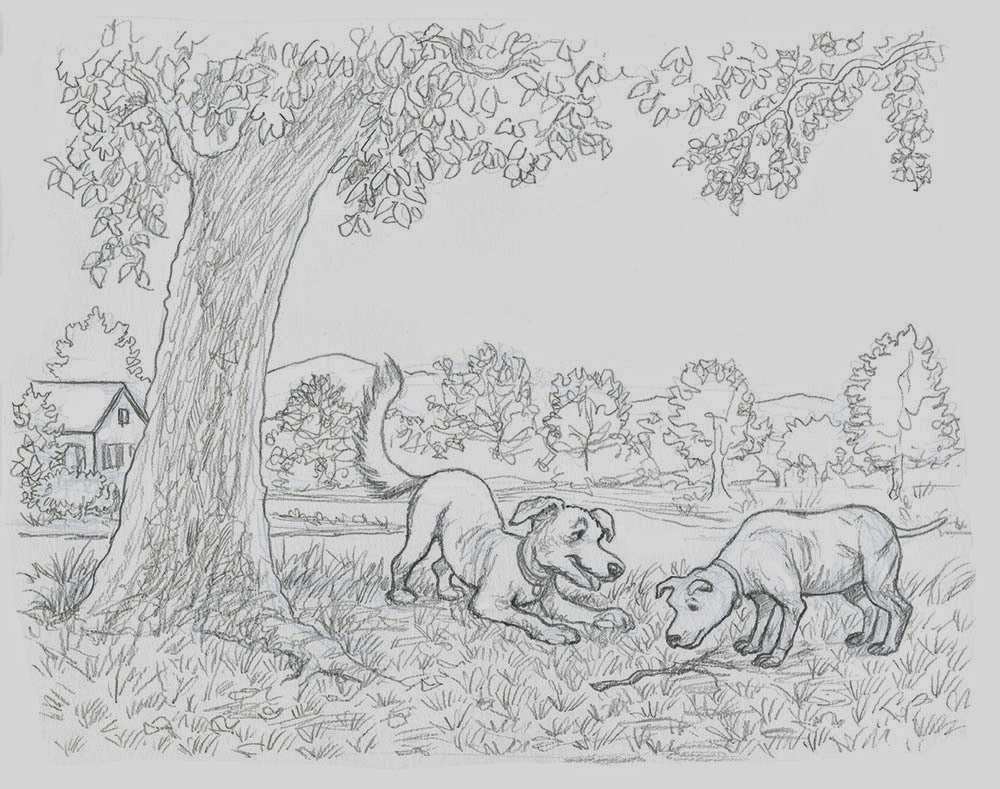 |
| It all starts with a pencil drawing. |
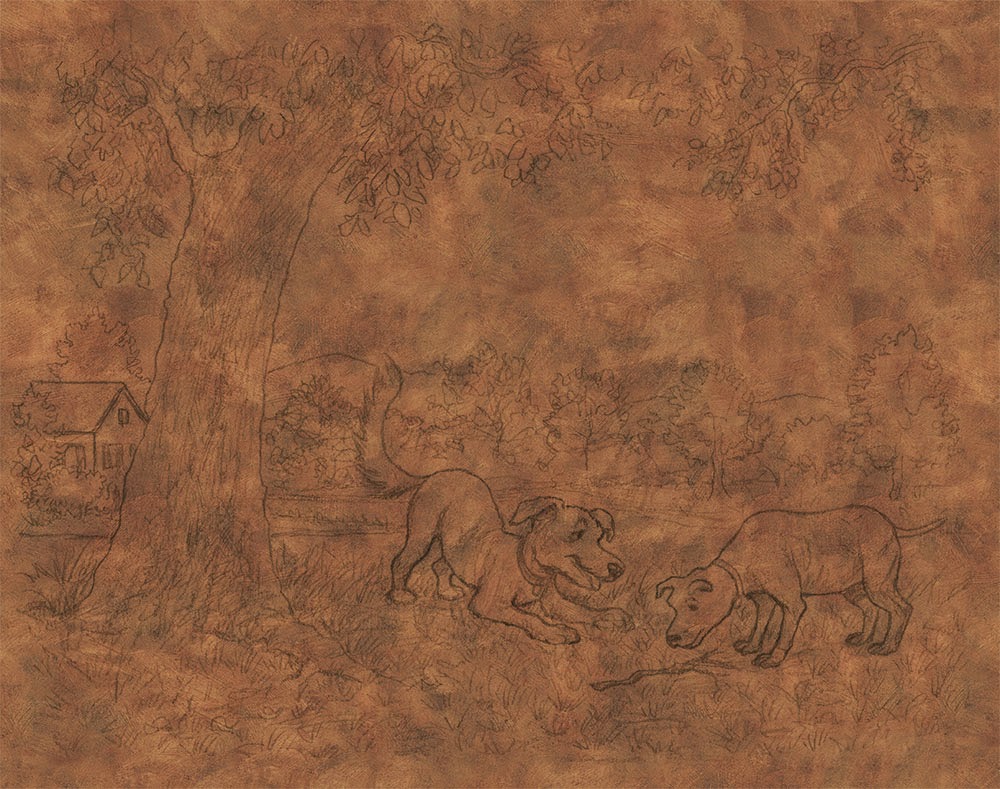 |
| Oil over gesso background dropped in underneath drawing. I set the Blending Mode of the drawing Layer to Multiply. You can scroll down to see my Layer Panel. |
 |
| I added shading by painting gray on a Layer set to Multiply. |
 |
| At this stage I'm painting in light areas by working on a Layer set to Screen. |
 |
| Local color by painting on a Layer set to Color. This concludes the underpainting. |
That concludes the underpainting stage. The previous three steps (shading, painting light areas, and local color) all preserve the texture (through Layer Blending Modes) of the gessoed and painted panel scan that I dropped in underneath the drawing. Most of the next steps involve painting on Layers with the Blending Mode set to Normal. The Normal setting lets you paint opaquely. At this point I generally use custom, textured Brushes.
 |
| Starting to block in opaque areas. |
 |
| More opaque details. |
 |
| Deepening shadows (with a Multiply Layer). |
 |
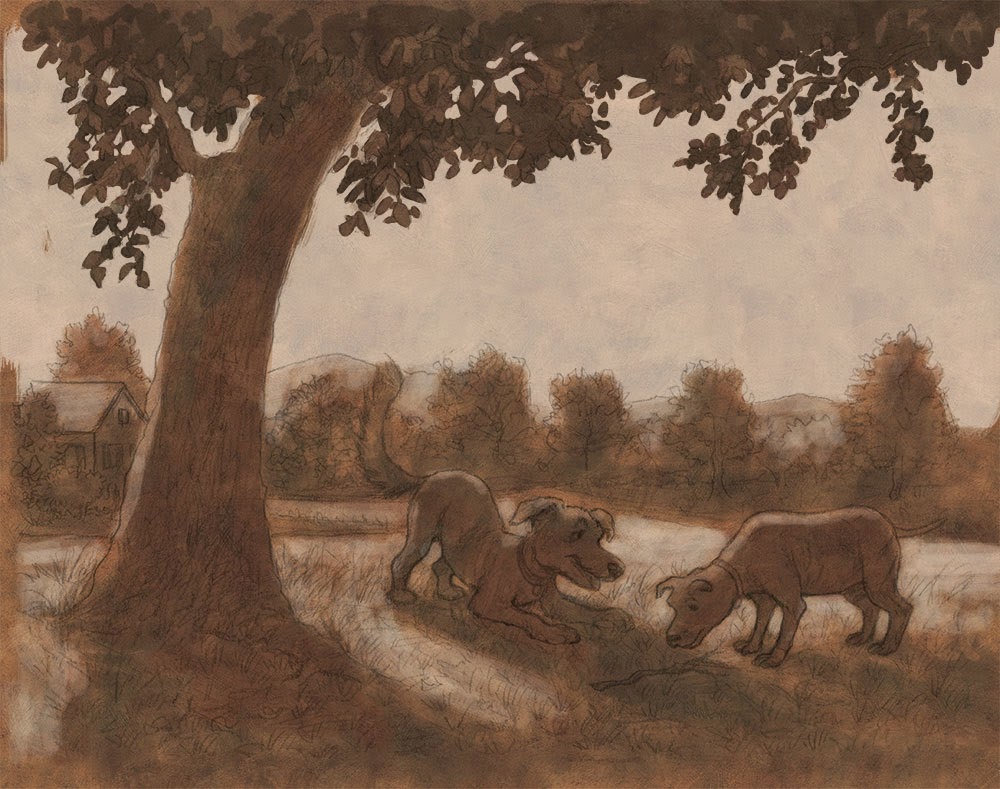
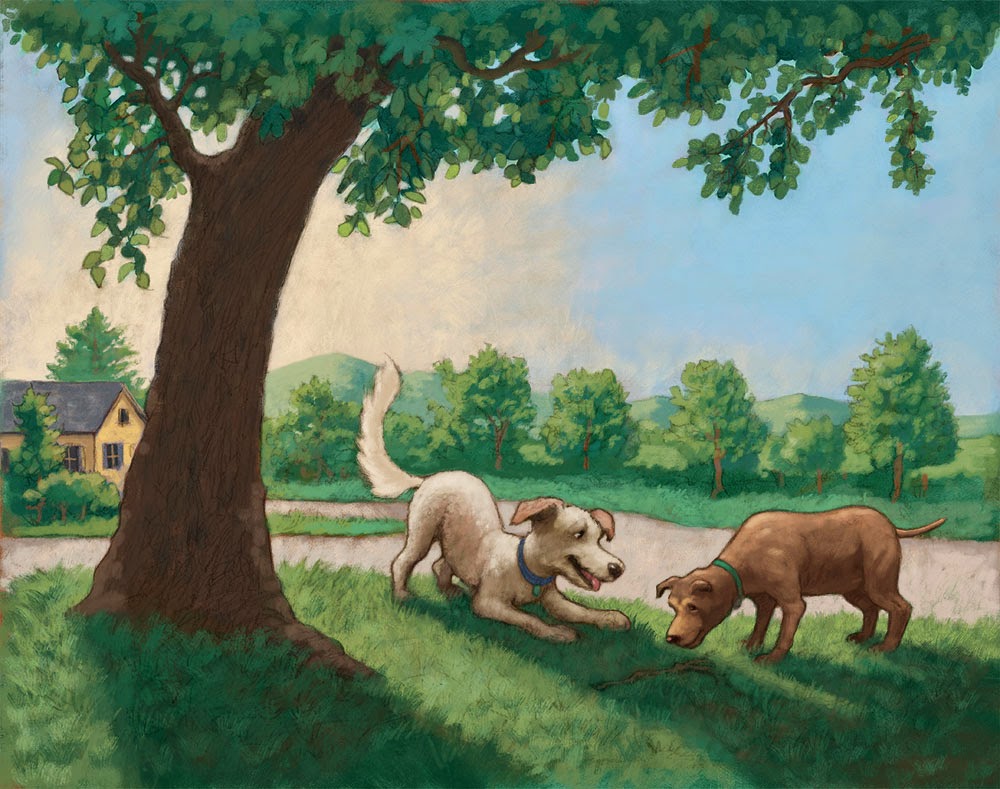
| Painting in the light. I also added some "atmosphere" (see Layer set up below). |
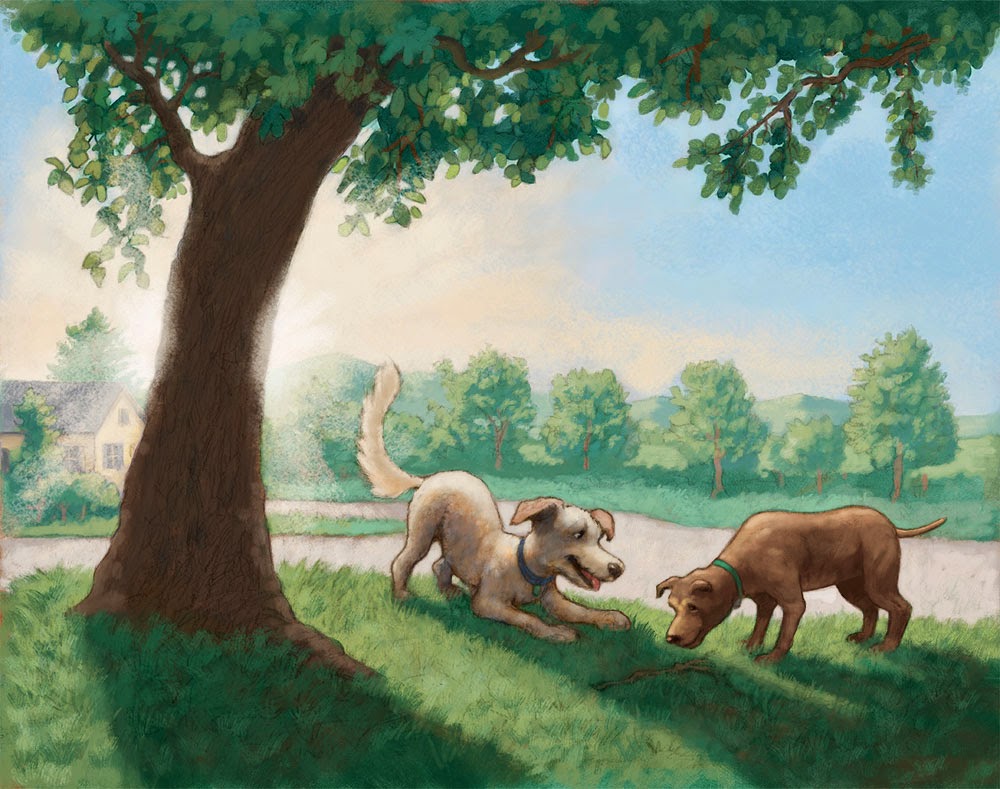 |
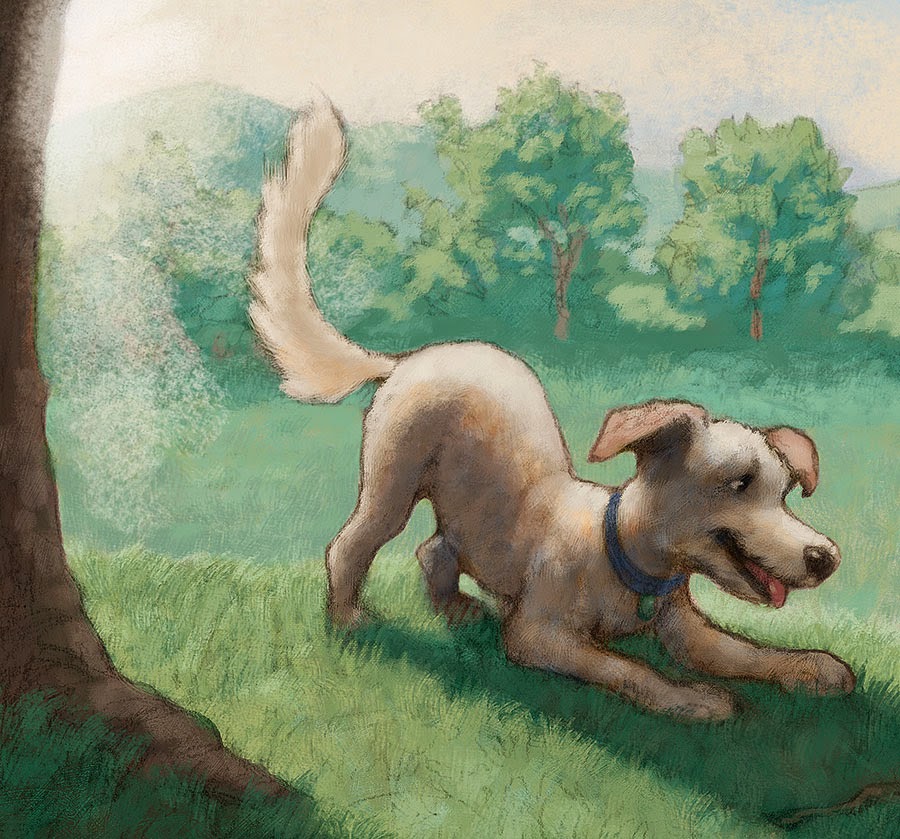
| Finished? |
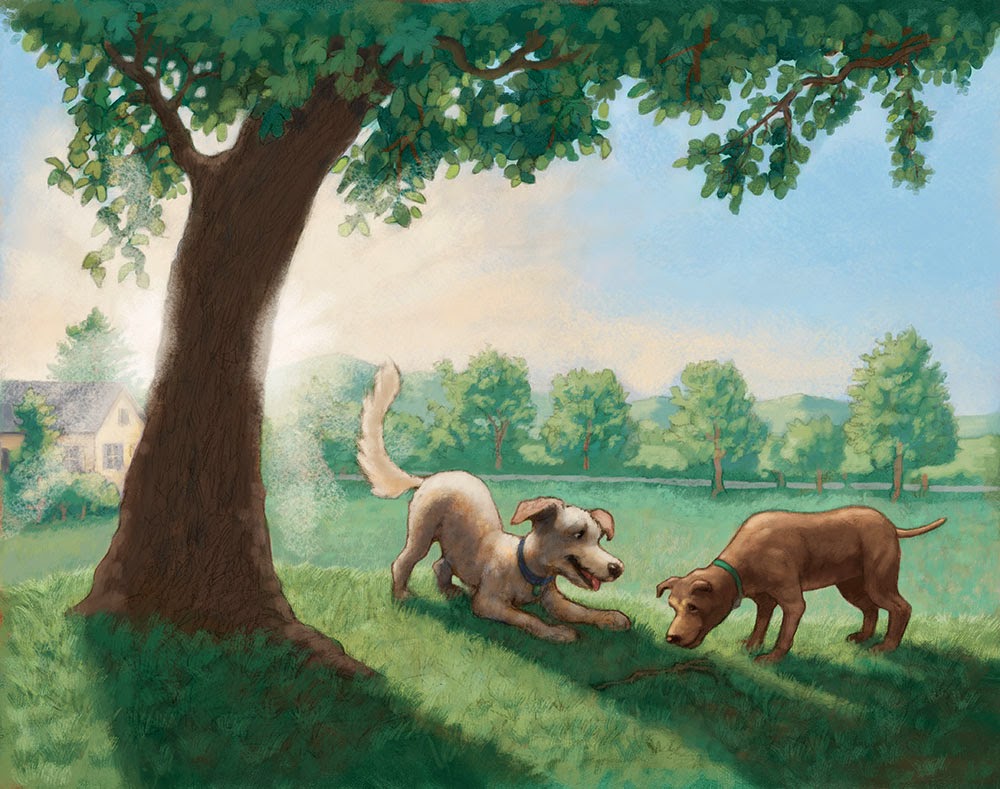 |
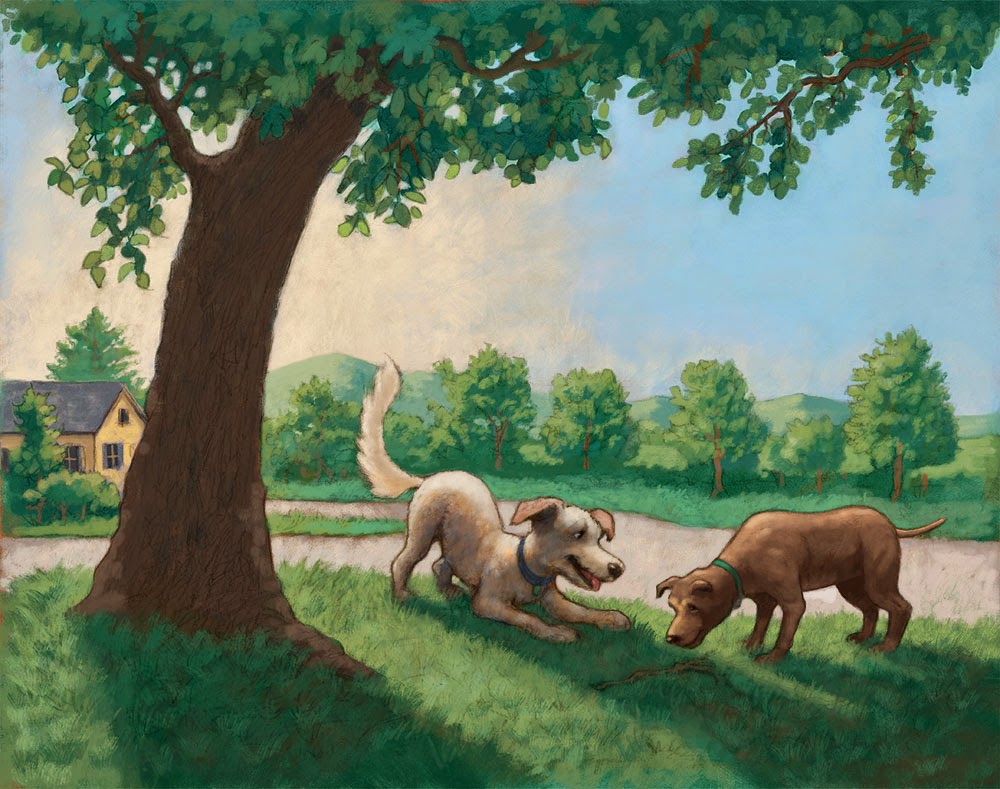
| We decided to revise the scene to put the dogs in the back yard, so I painted in grass behind them. And because this is a digital piece, that change was pretty easy! |
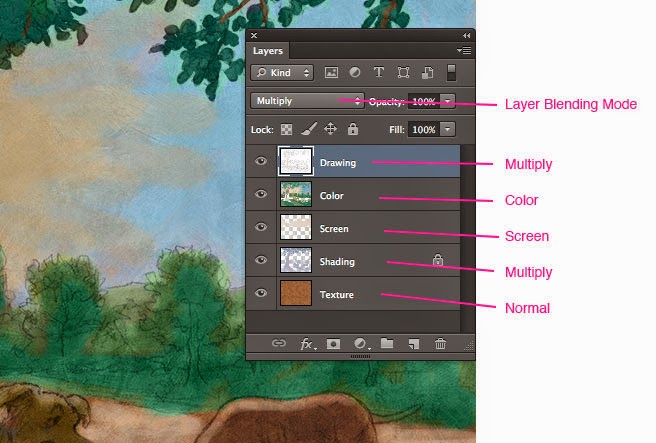 |
| This is the Layer set up for the "underpainting" stage. All of those Layer Blending Modes preserve the brushstrokes of the Texture Layer on the bottom. |
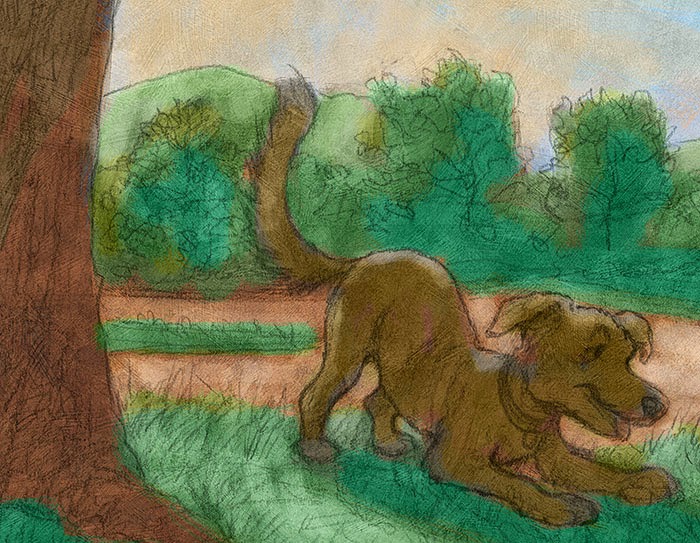 |
| Here's a detail of the texture showing through the adjustments I've made in the "underpainting" stage. |
File size was getting to be an issue, so I flattened the underpainting Layers and worked on Normal Layers above the "Underptg" Layer. Pixels on a Layer with the Blending Mode set to Normal are opaque, so they cover up the pixels on Layers underneath. After the underpainting stage, I generally work with custom Brushes with textures attached to them. I did a blog post about that process.
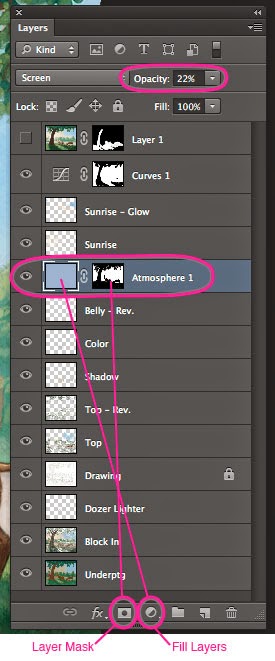 |
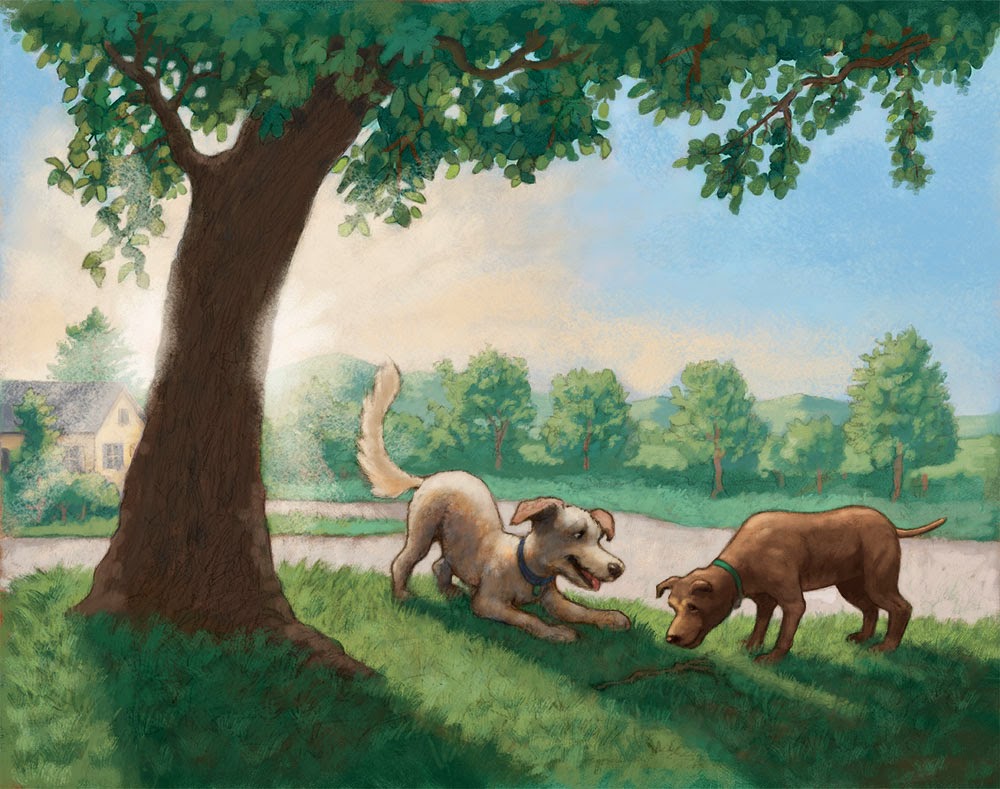
| I often add an "Atmosphere" Layer to give some atmospheric perspective. To do this, I'll add a pale blue Fill Layer and apply a Layer Mask. I then paint black on the Layer Mask to mask out the effect for foreground elements. After that I adjust the Layer Opacity, in this case lowering it to 22%. |
 |
| Detail of the final to show texture. I like to use lots of different Brushes and Layers to build up an interesting and varied surface texture. Please click to enlarge. |
I created a bunch of custom Photoshop Brushes for this book, many of which I am making available in two sets: Dave's Wet Media and Dry Media.
Click here to buy Dave's Wet Media Brushes.
Click here to buy Dave's Dry Media Brushes.
 |
| These are some of the custom Brushes that I used in this illustration. They are included in the Wet and Dry Media Brush collections. |
3 comments:
Amazing to see your process all laid out as a step-by-step.
Some people think 'digital' means easy... but this goes to show the many stages required to achieve the finished results.
Changes to final art are easier in digital, but the illustration process still requires skills and development. It doesn't paint itself!
Thanks for sharing :)
June, I didn't make it any easier on myself by going digital for this project, but I am happy with the result.
Post a Comment